Saturday, August 28, 2010

Alien Dinosaur Eggs

The trailer solo was a success!  I was pretty nervous about the whole thing, but it turns out this "delicate flower" can, in fact, fend for herself.  It only took about 20 micro-maneuvers to successfully back the trailer into the super narrow spaces at the RV park in Pacifica.  The guy in the giant rental RV across from me took pity on me (or maybe his self preservation instincts kicked in)  and helped me back my big a** into the narrow space.  The odd thing was I didn't really have too much trouble steering the trailer backwards but a lot of trepidation about clipping his RV with the truck's front bumper.  Apparently, my spatial sense only extends in the direction I am actually looking.
Aside from the narrow, asphalt parking lot aspect of the park, the unobstructed view of the Pacific ocean was incredible!  As soon as we got close to the ocean I had to roll the windows all the way down and breathe in the salty smell of the sea, oh how I do love and miss it!
view from RV park
The other big first for me this weekend was renting time on the flameworking torch at Public Glass on my own.  After checking out literally every book in the Solano County library system related to glassworking, I settled on a few good ones to use and purchase for permanent reference: Contemporary Lampworking by Bandhu Dunham and Flameworking by Elizabeth Mears.
The Flameworking book is set up as a primer for the beginning glass worker with a series of projects from very simple, easy shapes to progressively more difficult objects.  The first exercise is to practice joining 2 glass rods together with the objective of achieving a nearly invisible join (smooth, same diameter as the original rods).  Even this simple exercise held more challenge than I expected, as you can see from below. I did improve with practice (progressing from left to right).

Clearly, I could use more practice on this basic skill, but in my typical manner, having the patience of a jack rabbit on jolt juice, I immediately pressed on to the next project, making an assortment of leaf shapes.
pulling the flattened glass into a vague leaf shape
I made a few attempts at this, including trying to put a loop on so they could be used as, maybe, Christmas ornaments.  The loops were terrible as I completely forgot the very elegant procedure for doing this that I learned last month from Jeff Rogers.  However, this last leaf looks pretty good, if I may say so myself.
Time was passing much faster than I expected and I was quite eager to work with some of the colored borosilicate glass recently acquired from C.R Loo in Richmond, so I pressed ever onward into the next project in the book.  Making this one last object took WAY longer than I thought, however I did get a much better feel for how the glass behaves in the flame. 
The evening entertainment was a live demo of the Blaker Desomma artist team making their signature ocean wave sculpture. I just love this picture of the glass artist guy as he triumphantly poses with the finished wave.
There was a display of some of their other completed artwork for display and sale.  Really fantastic pieces depicting sea life or just beautifully abstract.
One of the more abstract pieces struck my friend, Jardee, as "Alien Dinosaur Eggs", which I had to agree is a spot on description of these things.

Thursday, August 19, 2010

Dreaming under the Blue Ocean

As promised, here is the finally completed Blue Ocean Hawaiian Quilt.   The idea to make this quilt germinated in April 2008 on a trip to Kauai with the family.  I found a cool pattern and some great fabric on the island, then the whole thing languished in my closet for a couple of years. 

I found a couple of great YouTube tutorials by Leah Day on sewing the binding by machine (I guess "serious" quilters frown upon this and hand sew, but as mentioned before my philosophy is why do something by hand that can be done faster and probably better by machine).  Luckily I had enough of the applique fabric (dark blue) left over to make the binding.
sew across diagonally to join strips of binding
using a walking foot to attach the binding to the back of the quilt was very easy.
making sure to stop sewing 1/4 from the edge

Getting the binding turned over to the right side nicely to make the mitered corners was a bit trickier, the first one is a little wonky, but with practice and patience the rest came out OK.
Ready to turn over, using a machine blanket stitch on right side to "stitch in the ditch" and catch the back
I don't have any close up pictures of the completed mitered corners because they are only OK from the perspective of holding the edges together squarely and looking OK from distances greater than 2 feet, but they are not really ready for a prime time close up.

Now, it's done and hanging in a position of pride on the wall behind our bed.
Notice Misha in the picture, she insisted on being in the photo, she felt Tex was getting too much media attention and it was her turn to play the star  : )

Monday, August 16, 2010

Blue Ocean beckons

This was a very productive weekend.  I attended another training session at the local library for adult literacy tutoring, learned how to hook up the trailer by myself, practiced backing into a parking space with the trailer (no easy task I might say) AND finally, at long last, finished the Hawaiian Quilt, hereafter to be know as "Blue Ocean".

Now that Craig is working nights, going to school during the day and sleeping any other time he can, I often find myself the only one awake in the house (the dogs sleep all night with me and then all day with Craig, lazy mutts).This has been strangely liberating, don't get me wrong I love spending time doing just about anything with Craig, but now I must ask only my own self how I want to occupy my time, rather than "what would we both enjoy doing together?"

I have started volunteering at the library doing one on one tutoring with a nice lady who wants to improve her basic English skills.  I was very nervous about taking on this responsibility, worried that I wouldn't know what or how to teach English or really any subject at all, let's just say I'm not known for patience.  But the Solano County Library has an awesome Literacy program and they really take a lot of time and effort to help tutors put together appropriate materials and provide lots of information and techniques for working with adult learners.  We meet twice a week for 1.5 hours at the library in a quiet study room.  It's been about 6 weeks now, I'm not sure if my learner and I have made much progress yet, but we are getting to know one another better and communicating in English.

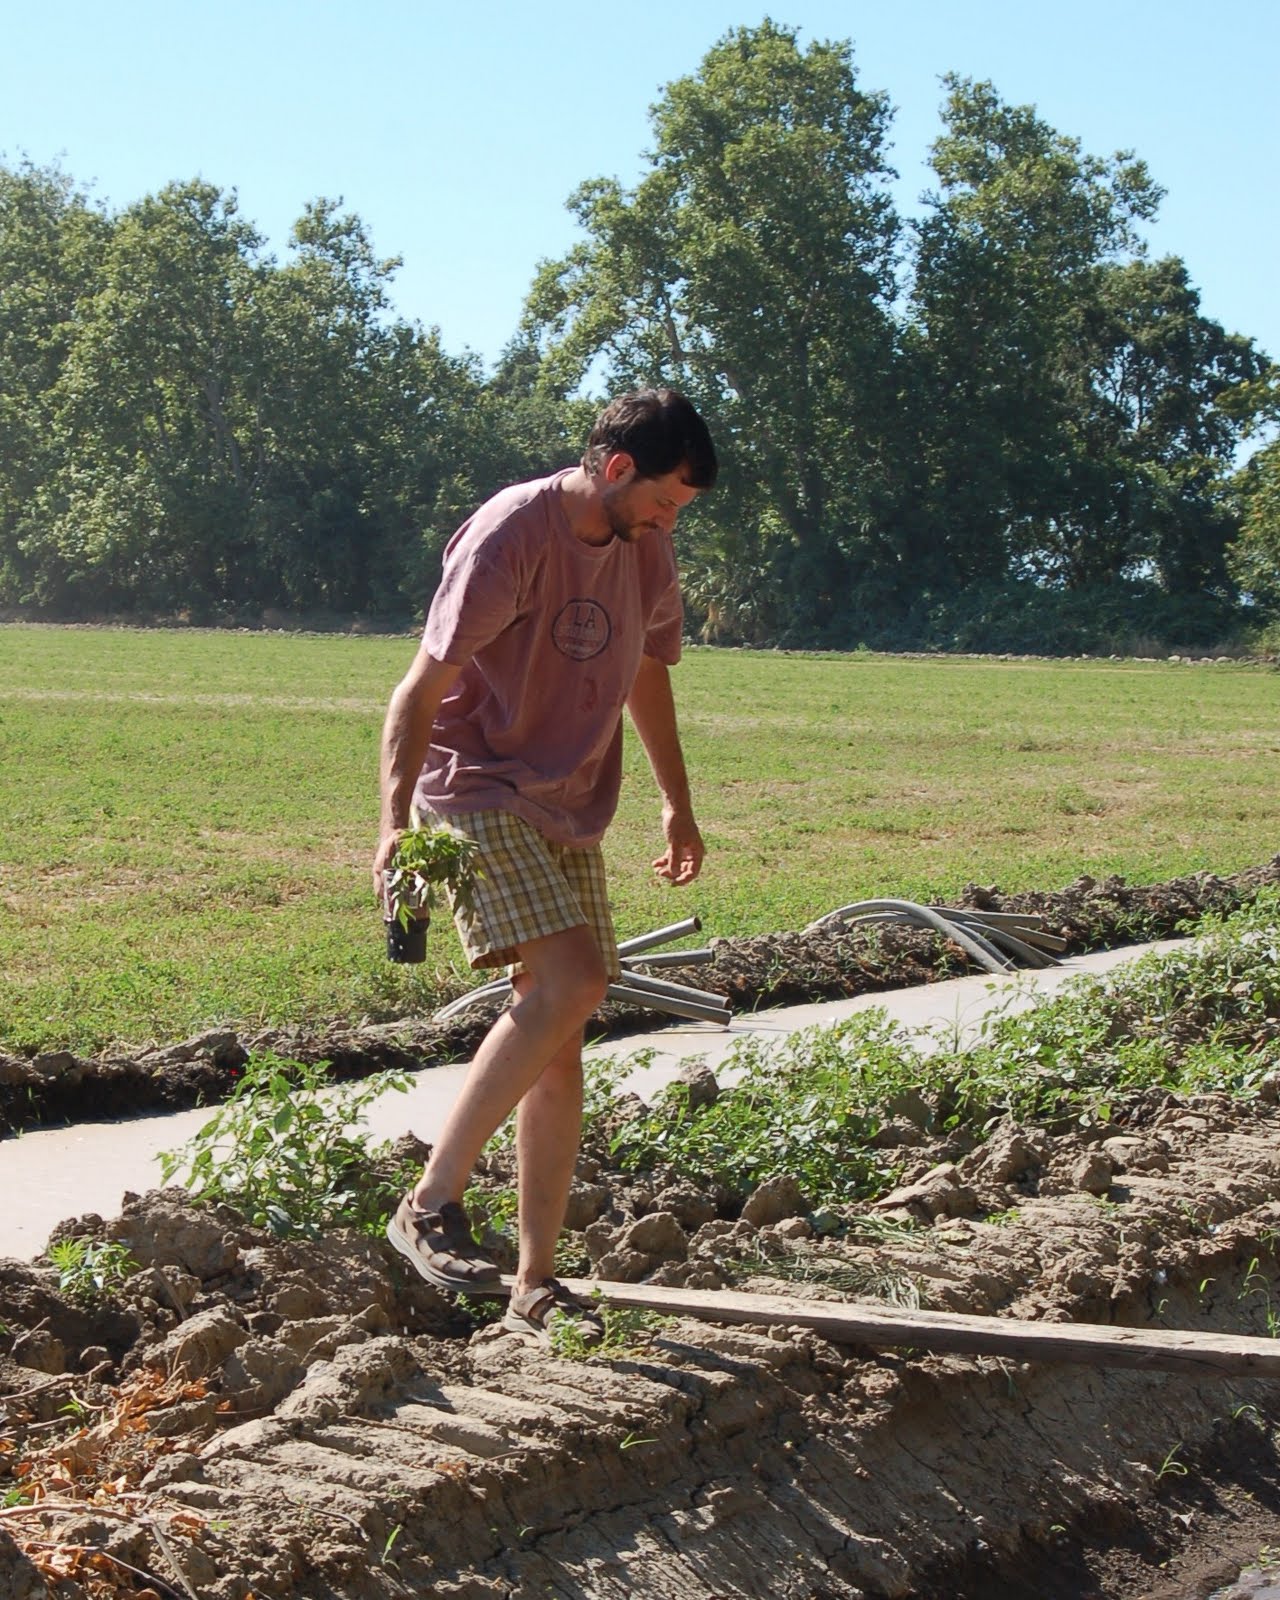
I am also becoming quite obsessed with the idea of working with hot glass to make marbles, beads, wine stoppers and other small glass objects.  The last post showed way too many pictures of my first ever marble (and the only one) made at a 2 day course in Lampworking, which I attended last month at Public Glass.  This is the perfect combination of working with fire and glass. It's done with a torch that is mounted on a bench, so it's possible to set up your own "studio" in the garage. This technique is great for making small solid or nearly solid stuff like beads, marbles, etc and can be also be used for making larger hollow items like goblets. I have been researching like mad on everything to do with this and how to safely set up my very own studio.  The big deal items to take care of first are creating a safe and well ventilated work area.  Then the fun can begin in getting the torch, tools and melting glass.  Here's a picture of someone doing lampwork:
but first, I have soberly committed to renting some more time on the equipment at Public Glass before investing in this seriously. My first rental time is next weekend, which brings me to "the practicing with trailer" part of this past weekend.  As the glass place is in San Francisco and any newly created glass objects will need to be annealed before coming home, the torch rental also implies an overnight stay nearby. 

In my quest to keep the challenge level high, I rashly decided to make this my first solo jaunt with our travel trailer (affectionately named Shelly, for obvious reasons). I'm not sure what the heck I was thinking when deciding that my first solo should be through one of the busiest cities in the WHOLE WORLD!  Craig, bless him, stayed up late (for me early morning) to patiently explain the whys and wherefores of hooking the truck to the trailer, while stopping frequently for me to take photos, ask dumb questions, etc.  Then we drove off to the local Camping World Store, which oddly enough had none of the items we wanted.  No rear brake bulbs, no hitch helper flags (I hope the ones I ordered online from Garage Toys get here in time), but of course they had plenty of brand new, shiny RV's which they were not shy about telling us about ad nauseam. 

We escaped from the showroom and then I tried my hand at backing up the trailer.  I thought I had scouted a nice empty area in back of the Camping World parking lot to practice in, but it turns out I needed A LOT MORE space than I thought so the whole thing was kind of stressful; Craig trying his best to explain the physics of backing a trailer on a pivot point while I nervously under and then over corrected while keeping a wary eye on the very, very expensive RV's parked all around us in the lot.  We finally bailed out of the lot, both of us silently, but fervently hoping the RV park in Pacifica has pull through spaces.

must stop now, hand cramping, next post I'll show you the completed Blue Ocean Hawaiian quilt.

Sunday, August 15, 2010

Let there be light!


Photons, baby, I need more photons, and not just plain old ordinary photons, no, I need soft, diffuse, evenly dispersed photons for photographing stuff. 
I came across this fun, easy tutorial for making your own, super cheap light box, http://strobist.blogspot.com/2006/07/how-to-diy-10-macro-photo-studio.html.  I gave it a crack this weekend and here are the results.

Take any regular cardboard box, any size that's big enough to fit the stuff you want to take pictures of.
regular cardboard box


box cutters, scissors and duct tape make quick work of the rest.


Now, just add some freshly pressed and starched plain white fabric, some people use tracing paper, but I think the fabric will stand the heat of the lights a little better with the added bonus of not as prone to tearing as paper.
tape translucent material to each side
I made some comparison photographs using a few different lighting setups, normal and with the new lightbox using a few different background colors, oh yeah and they're from 2 different cameras:
  • normal using 2 overhead fluorescent lights
  • just on white poster-board with 2 overheads
  • inside lightbox with lights on either side through side panel diffusers, on a white background
  • inside lightbox, on light blue background
  • inside lightbox, on a dark blue background.
Now, before we get to the actual comparison photos, let's get one thing straight, I am a rank amateur photographer and I love to try to fix them up digitally using free photo software like Shutterfly, so the following photos are not necessarily shot at the same settings on the cameras and they have been edited to make them look good to my very untrained eye.  Disclaimer out of the  way, here we go:

normal room lighting conditions (weak overhead and 2 fluorescent task lights on swing arms)
Lumix, std light on table
Nikon, std light on table

same lighting, placing object on white posterboard.
 just putting down a white background makes a dramatic difference in the photos
Lumix, std light on white

Nikon, std light on white

OK, finally with the new lightbox, on the same white poster board as above

Lumix, lightbox white
Nikon, lightbox white

now, same lightbox, this time with a dark blue background.
lightbox with dark blue background

Lumix, lightbox drk blue
Nikon, lightbox drk blue
Overall, I think the most improvement came from simply putting the marble on the white posterboard, but those photos also showed 2 very bright spots where the overhead lights were shining on them. 

The lightbox made some improvements in the lighting, it was more diffuse and even, however the marble still showed the light glare pretty well.  Maybe I should add another layer of fabric to diffuse it even more.

The light blue background (not shown in the photos above) was not worth the effort as I kept trying to color correct them to either white or dark blue. So, clearly, my mind's eye just doesn't like the "neither blue nor white" color scheme.

The dark blue background was also quite nice, the effect of the dark blue on the colors is interesting. 

The camera comparison showed my trusty point and shoot Lumix can stand up proudly against the fancy Nikon digital SLR.  I haven't practiced much with the Nikon, and I think the pictures reflect that.  I like both cameras for different reasons, the Lumix actually fits in my back pocket quite handily.  The Nikon is a sweet digital SLR that can take some amazing photos when I have time to dig into the manual.

As for the lightbox, I'll add more fabric to the outside and give it another go when I have something else to photograph, but for $10 this thing was worth it just for the entertainment value already  :  )

Friday, July 30, 2010

Ideas we wish Saturday Night Live would consider

Occasionally, as Craig and I are sitting around watching TV, we have these great ideas for spoofs we think Saturday Night Live would love.  Sadly, the Saturday Night Live website doesn't agree and will not take random submissions.  This, unfortunately for you dear reader, leaves me to share these strange thoughts here on this blog.

Now for these to work, you need to have some familiarity with the basic premise of the show, and since I know I have readers who profess to "not watch that much TV", hmmpf, I shall provide some explanation of the show premise.

Scenario #1 - Project Runway - Extreme Challenge
  • premise: a dozen or so clothing designers compete to be the big winner (lots of $$, fame, etc), each show a different crazy challenge is given to the group, like "make mother/daughter matching outfits for under $50 total", at the end of each show the worst designer is eliminated.  The designers are highly motivated to win the contest.
now imagine they are down to the last 4 or 5 contestants, the winner of this night's challenge gets to dress a big Hollywood star for the Oscar's (major big deal for designers).

As the host, Tim Gunn,  enters the cutting/sewing back room, all the remaining contestants look expectantly at  him, he puts his hands together and sorts of hides a grin behind his steepled fingers:  "Designers, today's challenge will be to make a fashionable raincoat for some underprivileged little ones".  The designers are obviously expecting cute little children, but as the door opens behind the host, in walks animal shelter workers leading scruffy mutts behind them on leashes. 

Now, being the eager contestants they are, they immediately start petting the dogs (even the flaming queen who hates dogs) and trying to work out cute doggie coat designs.  They are really taking this seriously and begin cutting and sewing furiously to try to wow the judges with their fun and funky designs.

Several hours into the challenge, in walks the host again and says "Designers, we are going to add a little wrinkle to this challenge", dun, dun, dun, pregnant pause, "the remainder of this challenge will have to be completed... without the use of your HANDS!" . Gasp! all the contestants then start frantically crawling around the dogs on hands and knees, trying to pull the garments into place with their mouths, noses, elbows, whatever, just not their hands!  Ha, Ha, Ha

I think this would be quite hilarious especially with crazy professional comedians who can just run wild with the concept and improvise super insane antics!!

stay tuned for more crazy TV spoof ideas, like "Ghost Hunters, Pet Edition"

Friday, July 9, 2010

Jean Genie


I've been collecting our denim jeans that are beyond repair for a couple years now thinking that I wanted to recycle the fabric somehow.
I finally found the perfect opportunity when a group at work started collecting blankets for a charity relief effort.  I didn't pay too much attention to what the actual charity was, I think to provide basic needs stuff, in this case blankets, to earthquake victims.  If that is actually the cause, I'm a little dubious how much use the Haitians receiving the donation will get out of blankets.  Isn't Haiti a tropical island?   Whatever. I was simply excited that this would be a great way to experiment with making a quilt out of the denim.  One of my friends gave me one of her cast-off pairs as well, and off I went cutting, cutting, cutting 4 pairs of jeans in little strips.
 and then sewing, sewing, sewing all those strips together to achieve a "subway" tile look and taking some care to make a pleasing pattern of the different colors of denim.
I didn't quite have enough of the denim pattern to make a full 40" x 60" (standard crib size) so I had to decide if:
  1. I was OK with making a dinky, not even going to cover up a kindergartner, blanket? - heck no
  2. having run out of the gray denim, did I want to just add more regular blue denim? - also, heck no, it took some effort to make a pattern I was satisfied with
  3. should add blocks of a different fabric entirely? - YES! 
This little problem actually turned out to be a blessing in disguise.  I was concerned that the denim was a little stiff  as the heavy fabric and lots of seams turns out to not be the best of ideas for a cuddly blankie.  A trip to the local fabric store turned up the cutest fleece with a googly eyed lizards all over it to add to the top and bottom.  Now, it will make a very snuggly, cuddly blankie, especially with the flannel backing covered in goofy blow-fish.

my favorite thing of all was adding the pockets.  I can only imagine Barbie getting tucked into bed along with her little girl, or maybe some little boy's secret treasure of green army men will hide in the pocket "caves".

Sunday, July 4, 2010

Redneck Safari

Yesterday, we went to a friend's new place out in Grimes (farming hinterland near the Sutter Buttes) for BBQ.
 We heard there was some interesting wildlife so we all piled into the truck for a little "redneck safari" (must credit my clever friend Jack with coining that great phrase).   After bumping along the country roads for a little bit we came upon a raucous cacophony of bird cries in the nearby slough.  It is a rookery for Night Herons, Egrets, Bitterns and who knows what else.  It stunk to high heaven, but oh what a sight, there were literally hundreds of birds and nests all crammed into this one little area in the middle of miles of farmland.
we saw lots and lots of nests with juvenile birds, many looked just about ready to fledge, like these egrets.
the Night Herons make a very interesting cry, sounds like a cross between a little dog woofing and bird whooping.
Jack found some volunteer walnut saplings to take back to Esparto.
back to the homestead, we enjoyed some great food and company.
after dinner we took a walkabout to a little pond up the road known to be home to some beaver and otter.  We didn't see any critters at first, but there was definitely wildlife trails and evidence of beaver cuttings and dam building activity.  Io, Blair's super friendly black Labrador dog, decided to cool off in the pond.
We were just fooling around, throwing rocks for the dog to chase, when out of nowhere a beaver appeared
 and was swimming towards the dog, who was unaware of anything amiss at this point
the beaver was making a bee line for Io, and everyone started screaming at the dog (who is kind of deaf) to get out!!

when all of a sudden SLAP!! went the beaver tail
luckily this story has a happy ending, Io was just a little startled, no one had to get into the yucky water to rescue her and the beaver was evidently OK, it simply wanted to scare the dog away from the pond. 
Relieved, we all walked slowly back home through a gorgeous sunset